Introduction
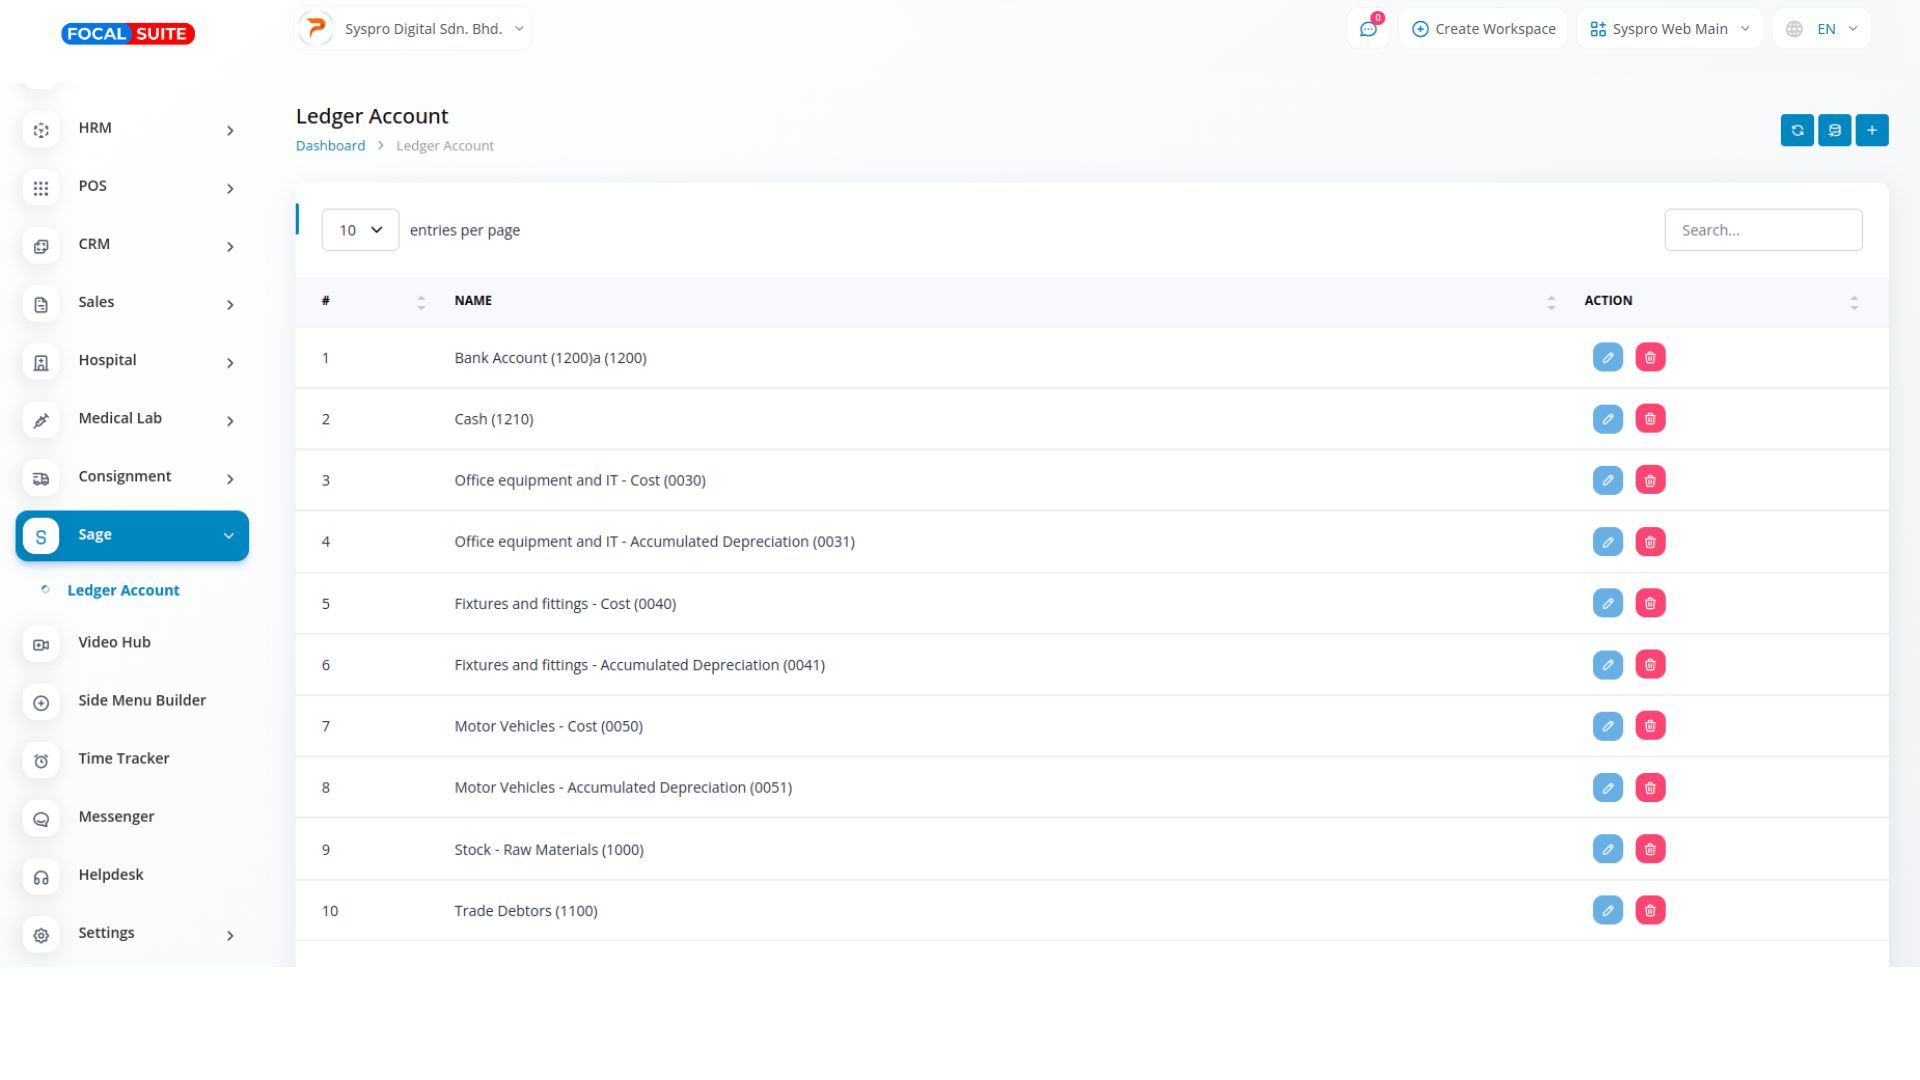
Integrating Sage with Focal Suite revolutionizes financial management by streamlining accounting and business operations. This integration automates data synchronization, eliminating manual entry tasks and ensuring accuracy while saving time. It covers various financial transactions, including invoicing and payment reconciliation, helping maintain up-to-date and precise financial records. Sage integration also enhances visibility and transparency by providing real-time insights into key financial metrics like revenue, expenses, and cash flow. By synchronizing invoices and charts of accounts between Focal Suite and Sage, businesses can manage finances efficiently, make informed decisions, and drive growth effectively.
Add-On Settings Steps
Once the super admin enables the Sage Add-On, company admins can purchase and configure it by following these steps:
- Go to the “Subscription Plan” page.
- Select the relevant “Usage Plan.”
- Purchase the Sage Add-On.
How to Use the Sage Integration
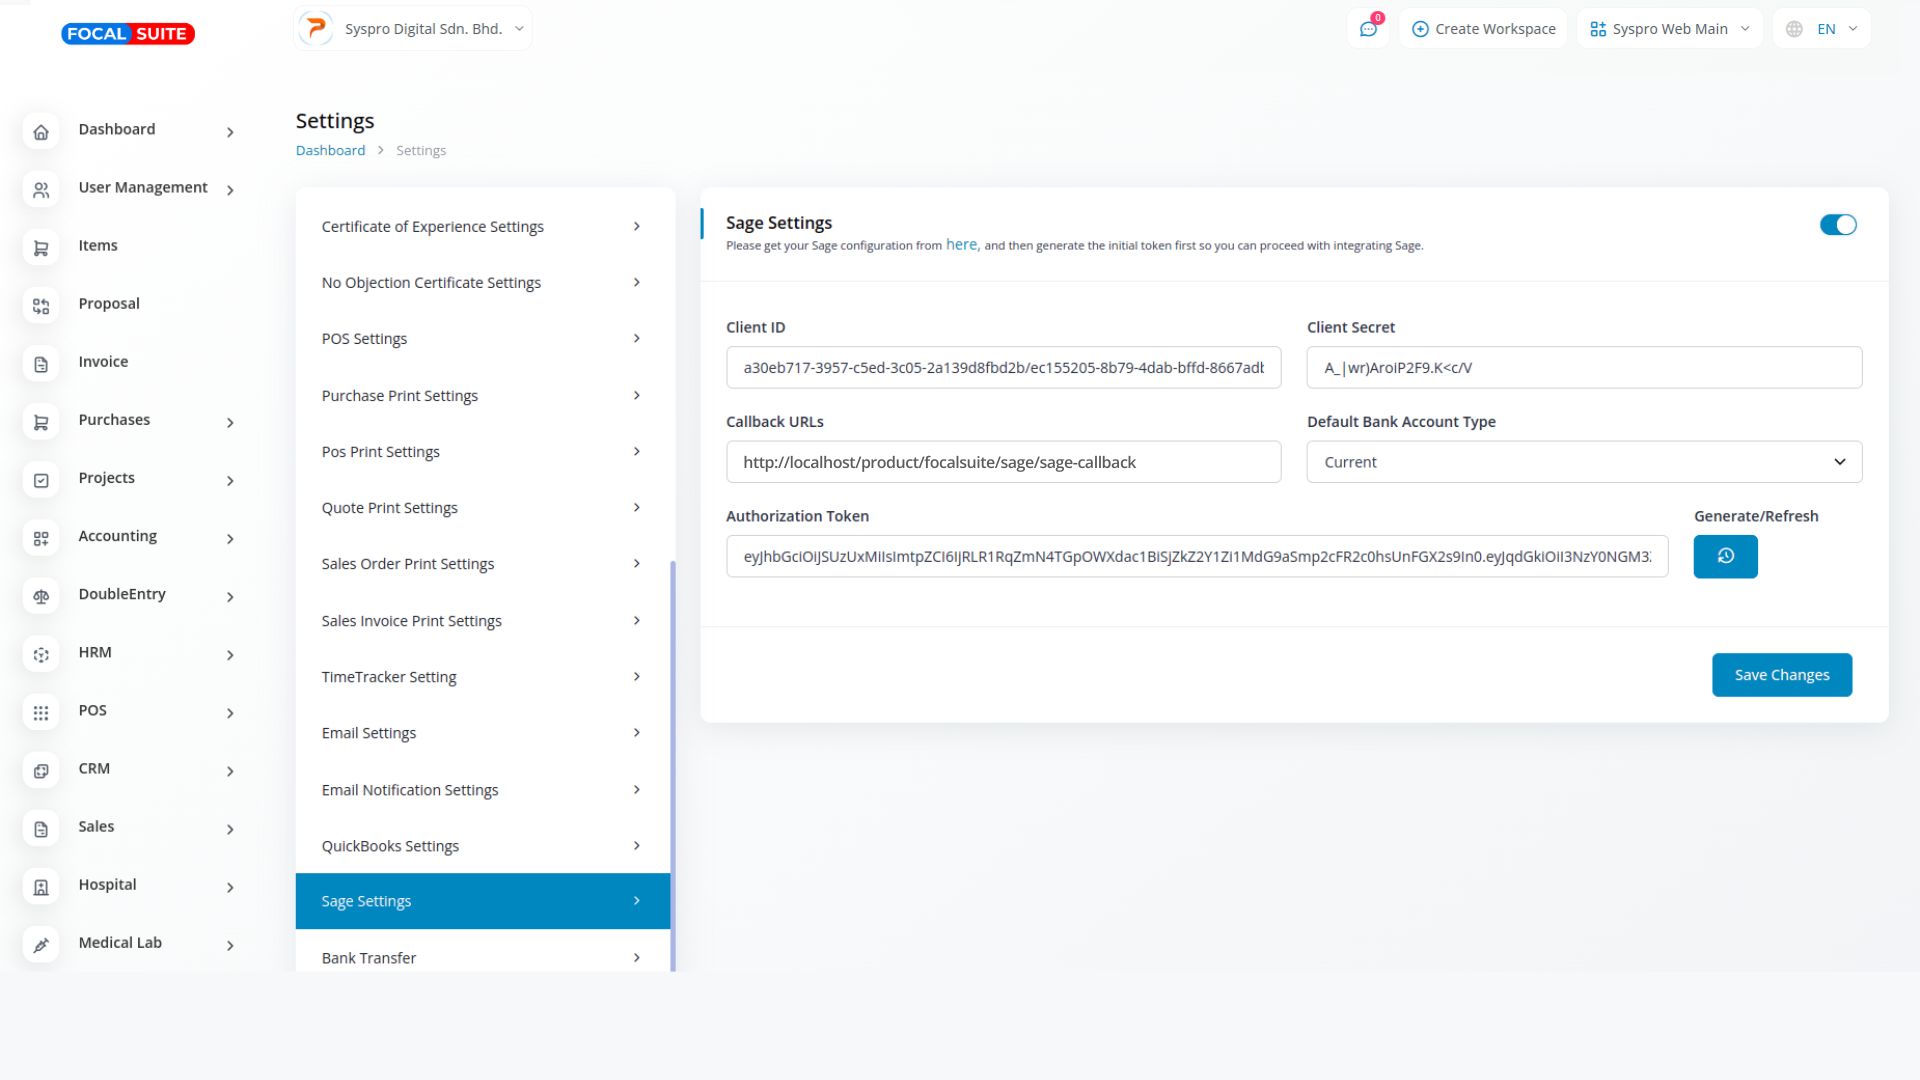
- After purchasing the Sage Add-On, go to the system settings and find the Sage settings.

- Choose the Sage mode by selecting either “Sandbox” or “Live.”
- Use the buttons to enable or disable Sage integration and to generate the access token.
- Enter the required credentials, including Sage Webhook Link, Client ID, Client Secret Key, and Sage Company ID.
- Once the credentials are added, log in to the Sage dashboard. You will see all invoices created in Focal Suite reflected on the Sage Dashboard.

This is how you can access and use the Sage Add-On with Focal Suite.


