Introduction
The Requests Module in Focal Suite provides an intuitive interface for designing and managing request forms. Users can effortlessly create and customize fields such as Text, Email, Number, and Date, adjusting properties like labels and validation rules to meet specific requirements.
This module enhances workflow with powerful actions, allowing quick access to copy request links, edit and view fields, review responses, and seamlessly convert requests into leads or CRM entries. Additionally, forms can be renamed for added flexibility, making the Requests Module a versatile tool for efficient request management.
Step 1: Company Login Access
Once the super admin has enabled the Requests Add-On, company admins can purchase and access it by following these steps:
- Navigate to the Subscription Plan page.
- Select the relevant Usage Plan and locate the Requests Add-On.
- Complete the purchase to activate the Requests Module.
How to Use the Requests Module
After purchasing the Requests Module, locate it in the sidebar. The module includes two main pages:
- Requests Page
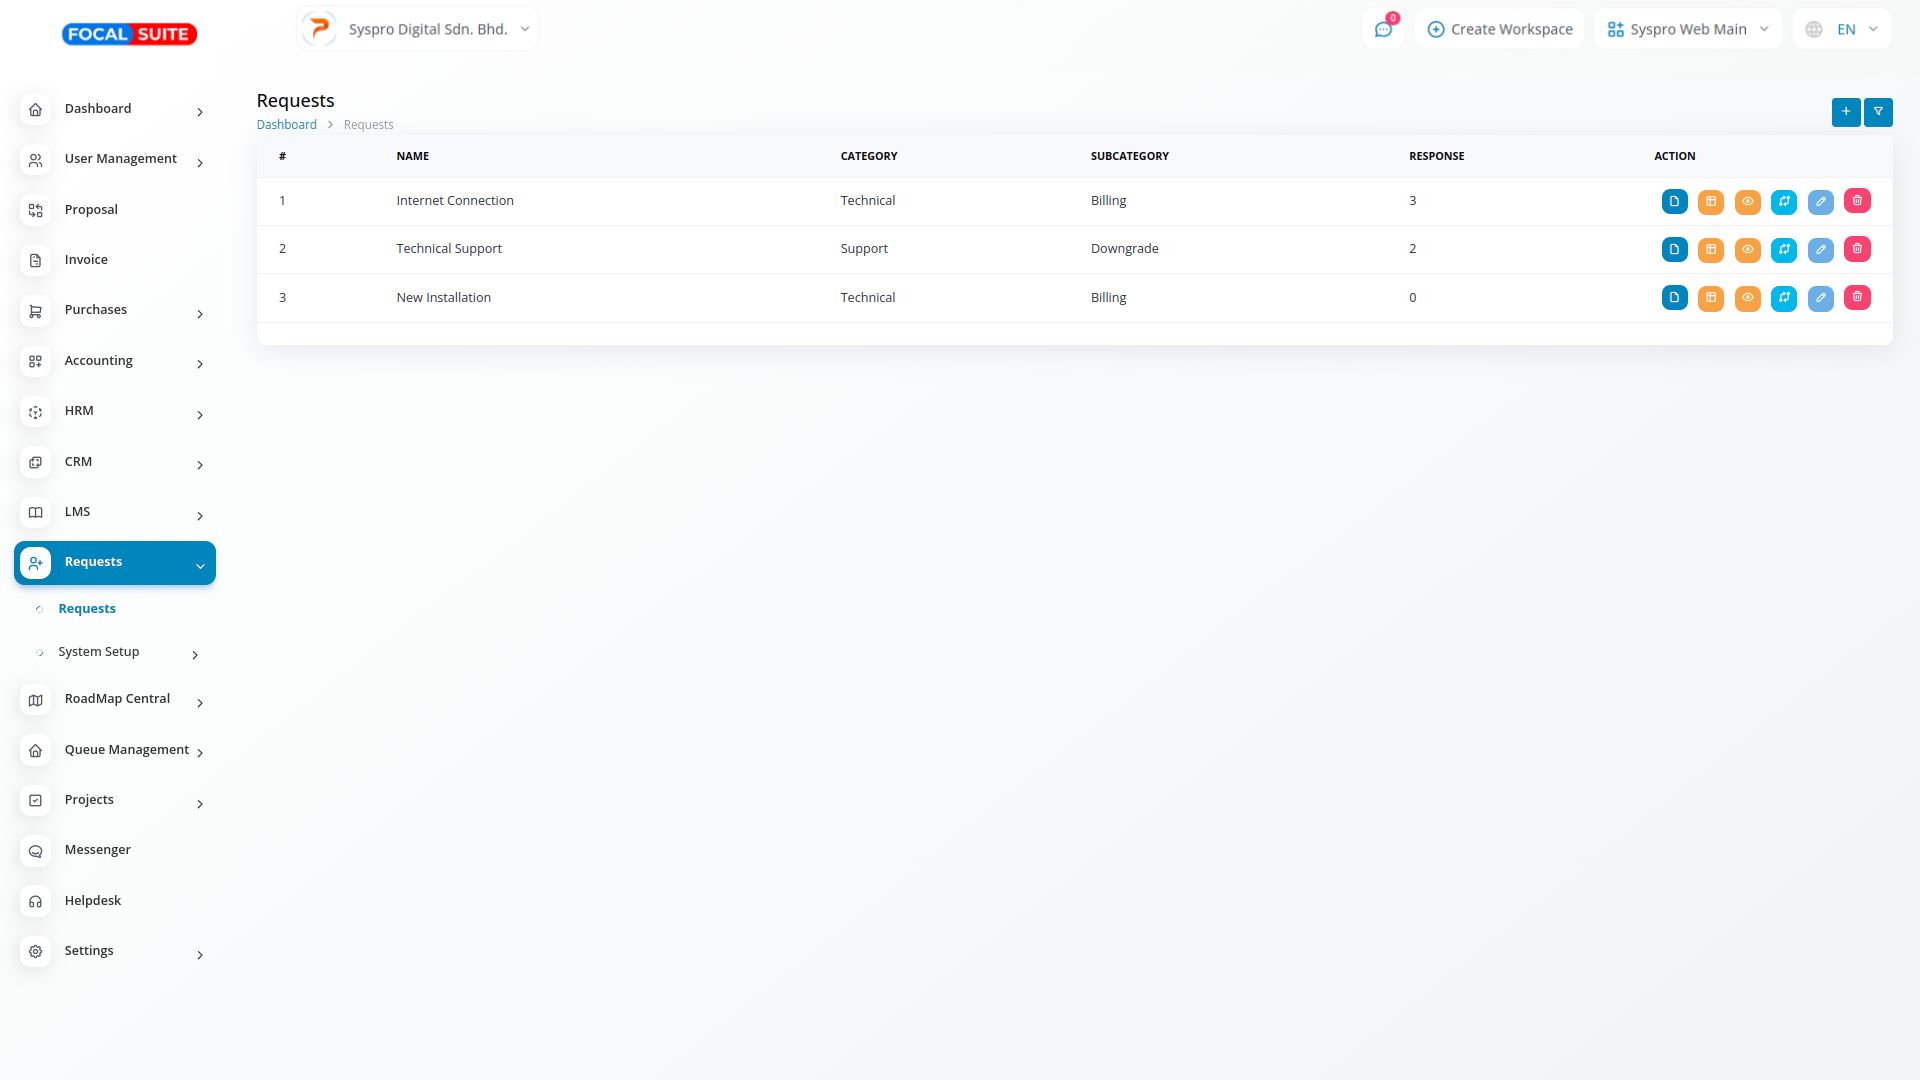
- To create a new request, click the + button. Add a name, select the request type, category, theme, and activate the request.
- Once configured, the request will be available to customers, who can respond directly through the form.
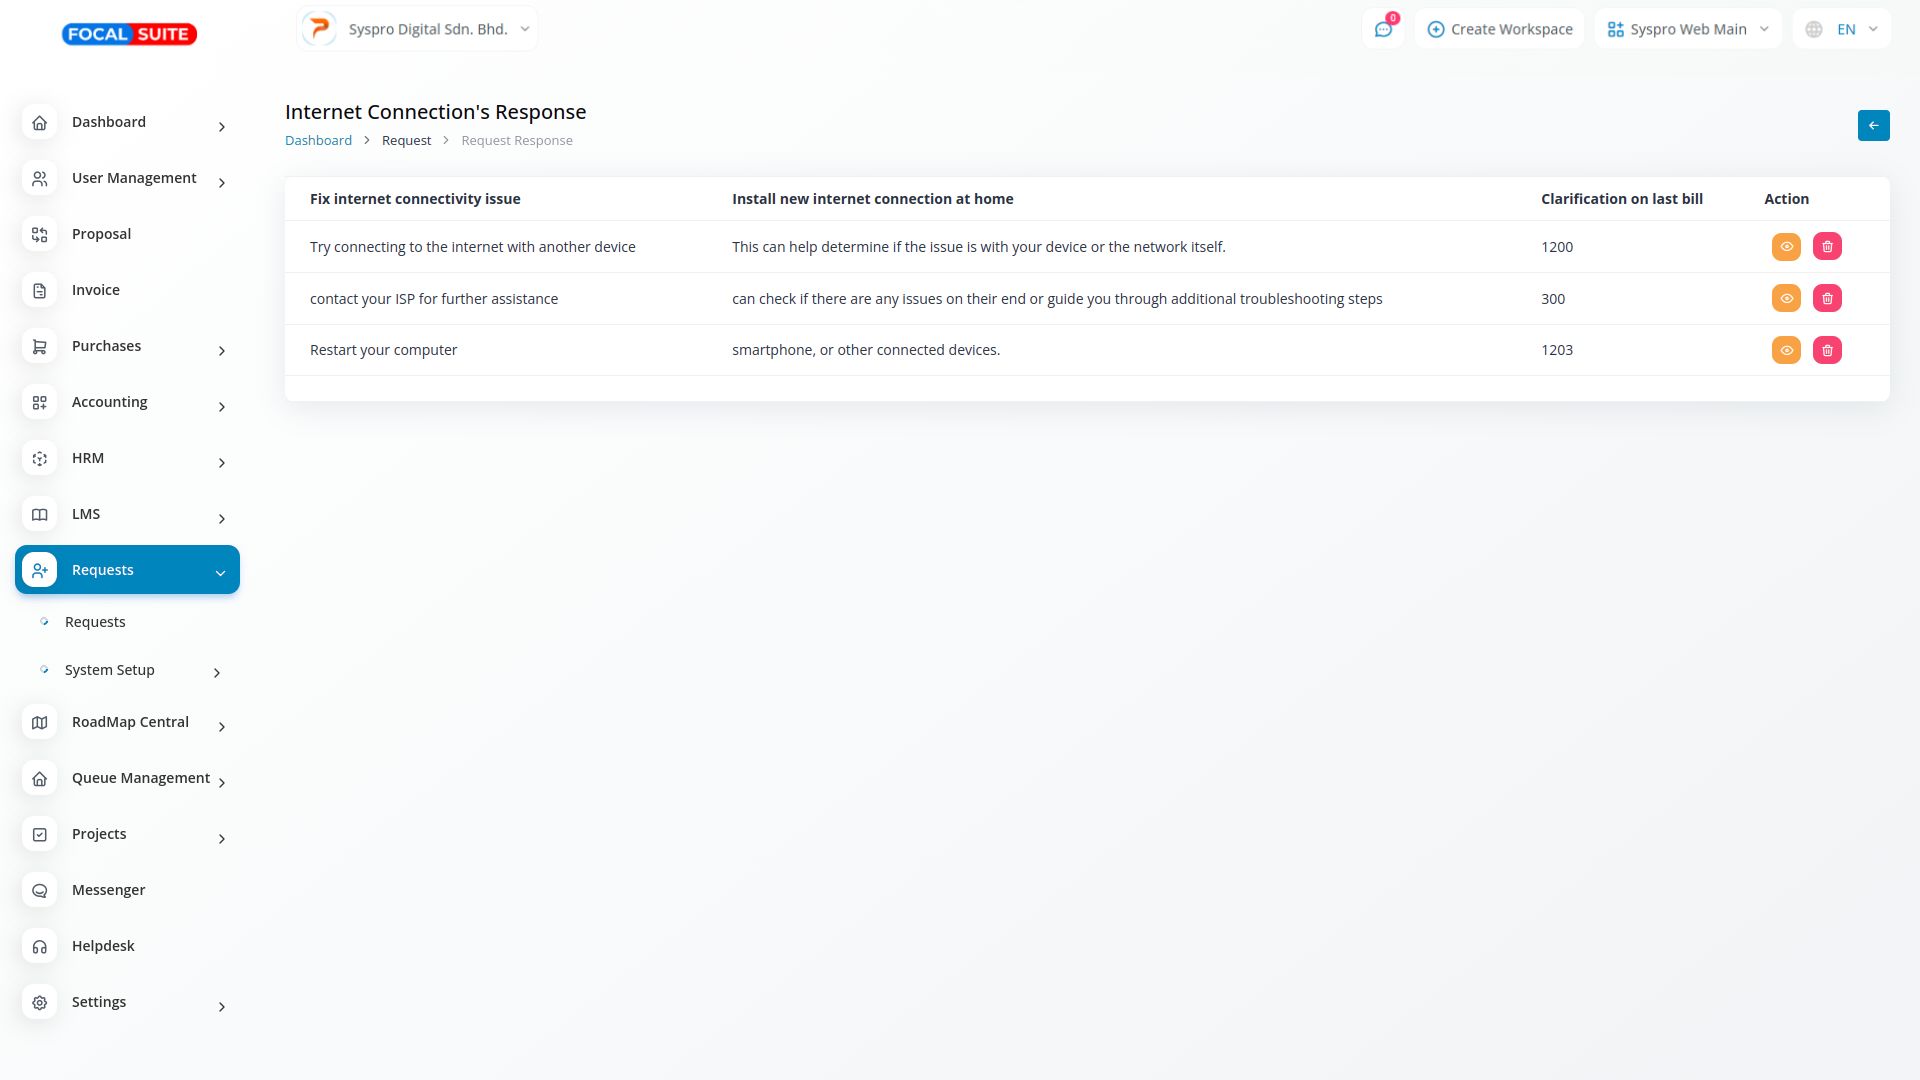
- The Requests Page allows you to view a list of created requests, copy request links, edit forms, view responses, convert requests into leads, and delete or rename forms for convenience.
- System Setup Page
- Here, you can set up new categories and subcategories for requests, allowing for more detailed organization and customization.
By following these steps, you can easily utilize the Requests Module in Focal Suite to streamline request management and enhance customer interaction.